Creating your First Card
 Creating an application for users in virtual reality is easier than ever before. Instead of using an engine like Unity or Unreal, you can use the web languages that you already know, like HTML/CSS and JS. Aren't too confident in your web coding skills? Codecademy has a great set of tutorials to get you started. You'll be up and running in no time. If you're already confident in your web coding wizardry, great! 😀
Let's Get Started
We highly recommend using an online environment like Codepen to create your card. The instant preview and the ability to fork other users' pens really lets you cut your development time down and have more fun along the way. If not, we will reference the basic guidelines below.
- Start by navigating to https://codepen.io/holos/pen/Mpyvry.
- Fork the Card Template to create a new card based off of the template. If you would like to easily access your card later, this would be a great time to create an account on CodePen.
- Take some time to look at the existing HTML and CSS. Let's run you through what's going on:
- In the HTML header, we're importing the main front used in the Holos homespace, Luengo. Please note the font names at the bottom of this document. In general, you will be using Luengo Bold for most of the text on your card, but feel free to experiment with the different weights of the font.
- In the HTML body, we have a div named
card. This puts the card on the canvas. - Moving on to the CSS (shown here), we have some initial rules for the positioning of the card for when we display them in the homespace.
- Moving on to card class, we have some more positioning taken care of. Please note the dimensions of the card:
800px by 1400px. These dimensions should be left untouched, as that resolution is necessary to have when we import the card into the homespace. Please also keep the solid white 10px border on the card for continuity. Feel free to change the background color to whatever you like. - In the body class, we define the background as transparent (also should be left untouched) and define the baseline font as Luengo Bold.
- Lastly, we have a
noselectclass. This should be defined to any and all divs that do not require input from the user beyond a simple click.
- As an important note; if you cannot see the whole card in the CodePen preview window because of the high fixed resolution, try using your browser's Responsive Design Tools and crank up the resolution.
- Now that you're comfortable with the basic rules, it's time to great creative! Start by doing a basic "Hello, world!" inside the
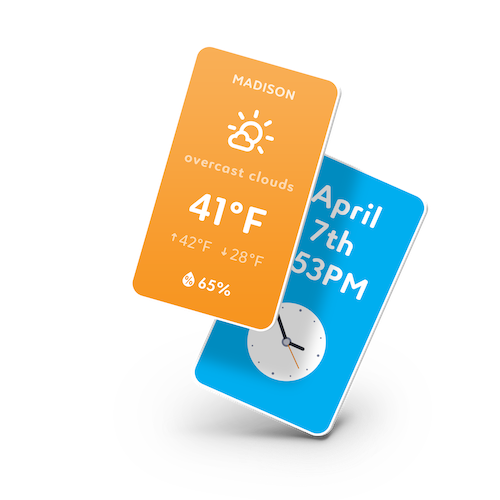
carddiv or by filling the background with an image. - Take some time to look over the other example cards that come standard in the Holos homespace, such as Weather, Photos (pulling from Instagram), and Clock. All three of these examples either pull from an external API for data or have some unique JavaScript action going on, so don't be afraid to try new things!
- Like I said before, take some time to browse CodePen and get some ideas for your next card.
- If you'd like to view your card in the right size online, go here here, and if you'd like to try it in your homespace, follow the instructions here.
- Once you think you've got something awesome, send it our way at hello@holos.io, brag about it in the Developer Community, and upload it to Holos online and we'll feature it alongside our other cards in Holos!
We can't wait to see what everyone comes up with and we're looking forward to building the next interface to the web together! 🎉