Using the Dev Utility Card
 You've been busy creating a card online or in your IDE, but what does it look like in your homespace? Follow this tutorial to learn how to use the Dev Utility card to do just that.
Prerequisites: A card built using the Card Template that is hosted either locally or remotely.
- Start by adding the Dev Utility card to your Collection, either at market.holos.io or in VR.
- Do not yet bring it into your space.
- Log out or quit Holos.
- Navigate to the folder where you've installed Holos. For Steam, the default file location is
C:\Program Files\Steam\SteamApps\common\Holos\.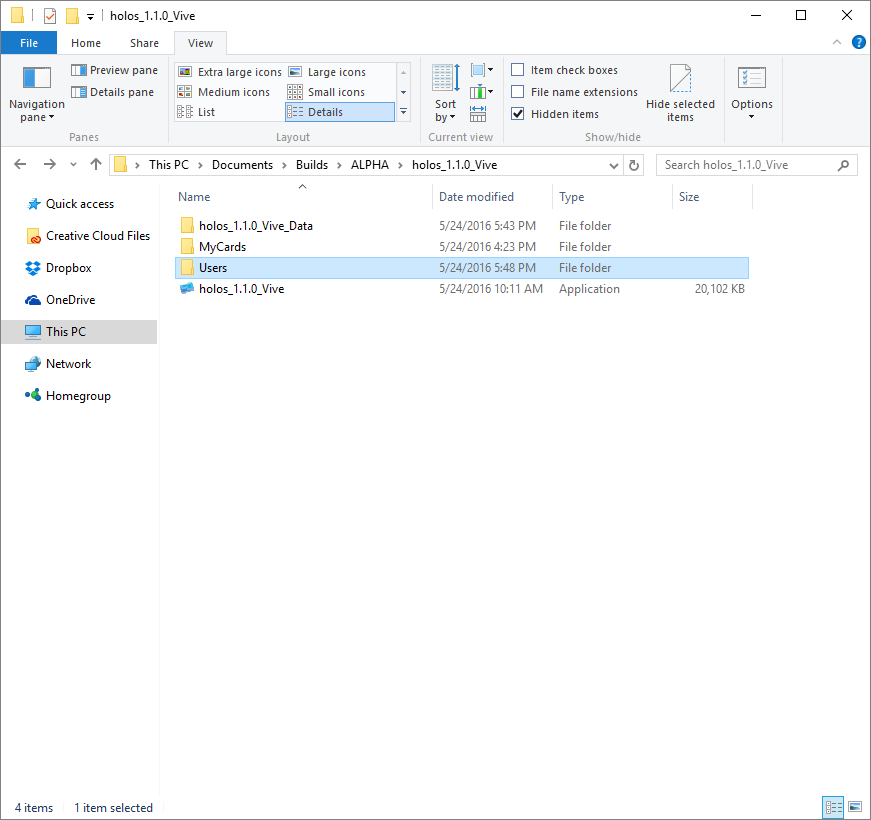
- Click on the Users folder.
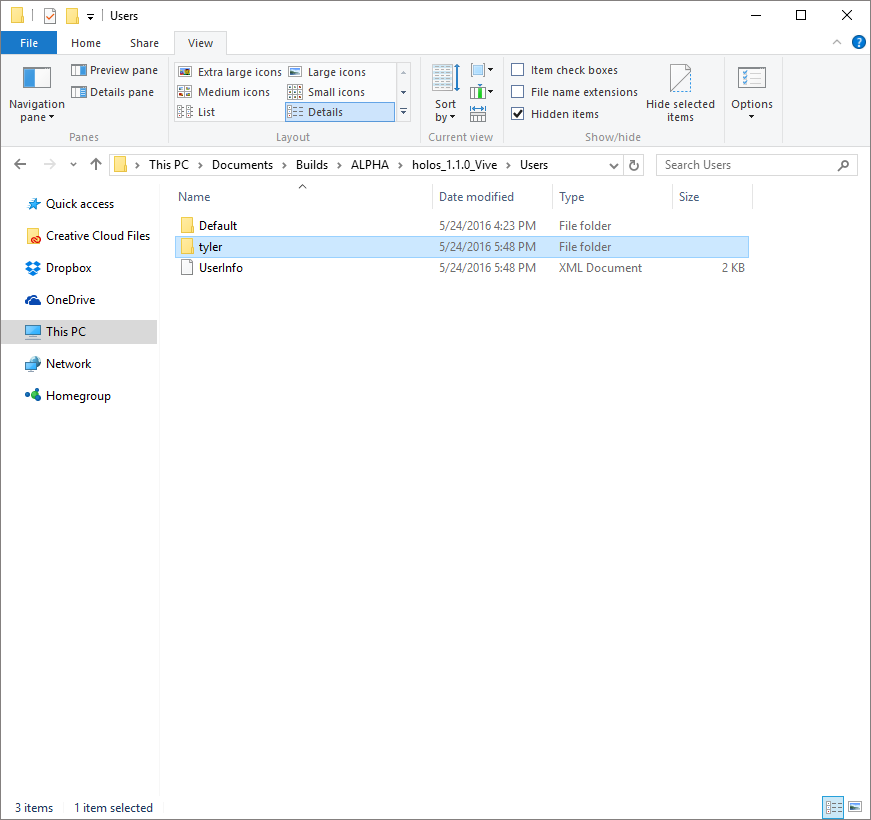
- Click on the folder of your username.
- You should see two XML files, Collection and Desk.
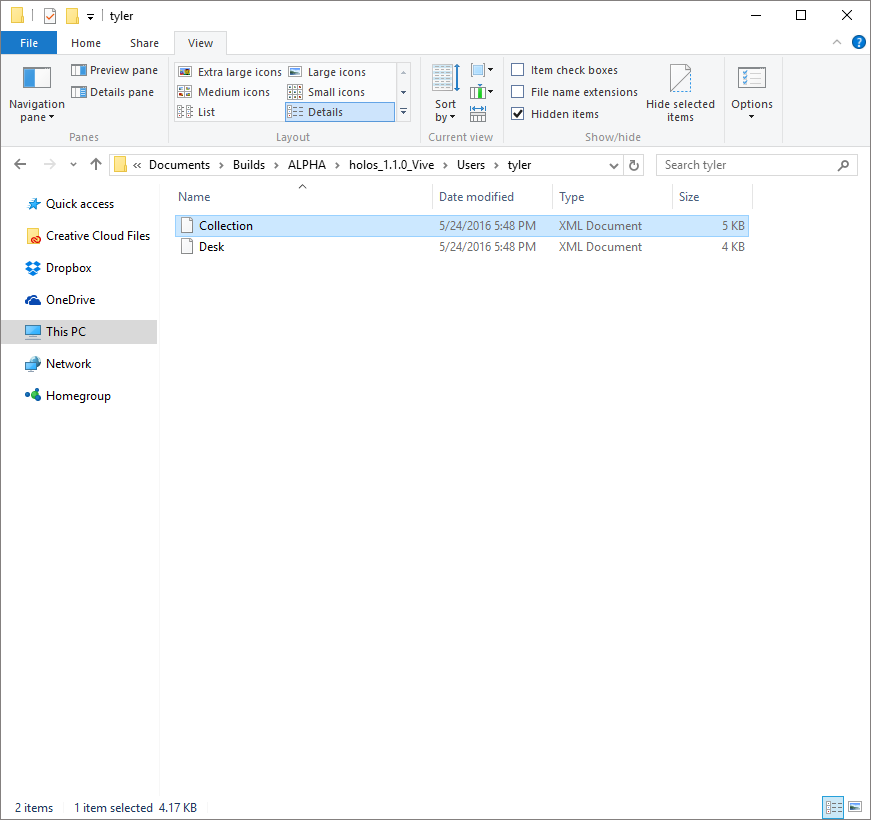
- Open
Collection.xmlin your favorite text editor, like Atom.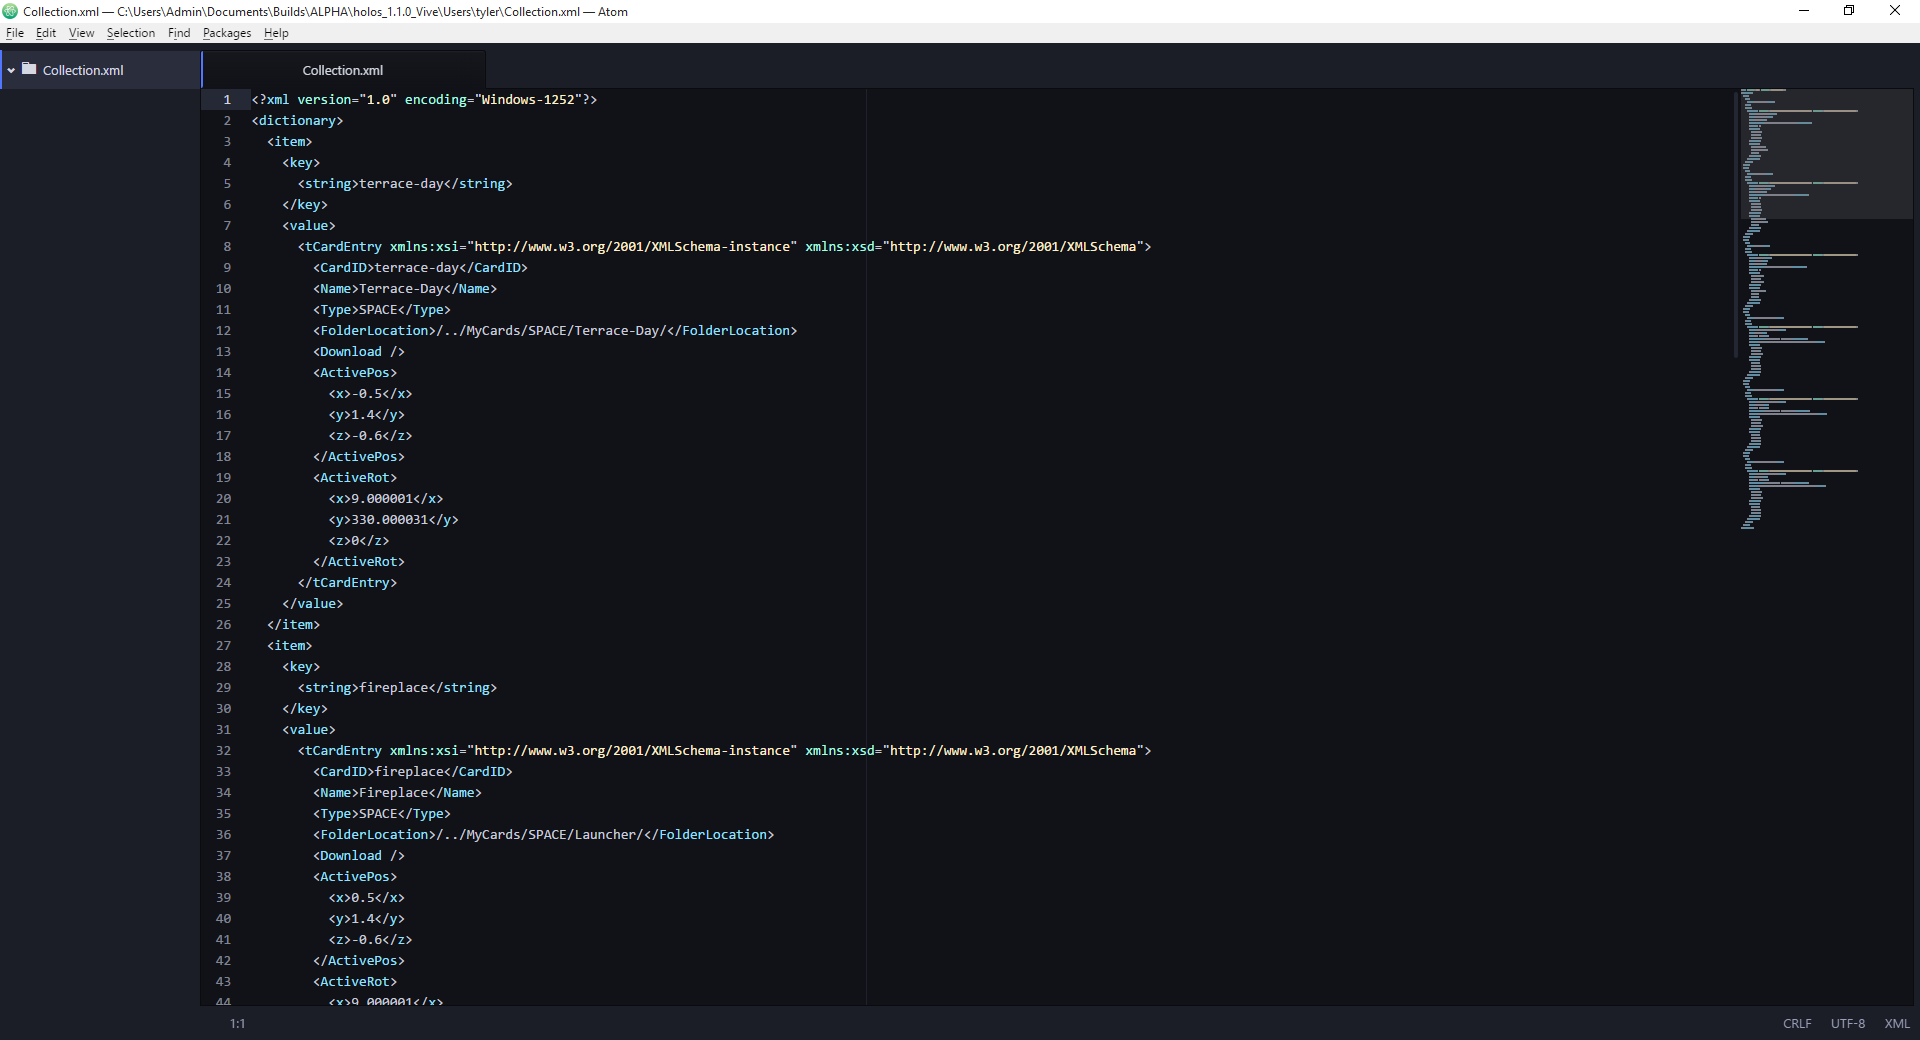
- This holds all of the local data for the cards in your collection.
- Scroll down until you see an
<item>with the<Name>Dev Utility. - You should see a
<Download>tag. Enter the URL of your card in development here. - Save the document.
- Run Holos.
- Navigate to you Collection. Bring a Dev Utility card into your space.
- If everything worked correctly, you should now see your own card in your homespace!
We suggest that you close holos as soon as you are done testing your card. Holos will save a new XML file upon exit, so make sure that you don't make a change while Holos is running.
If something went wrong along the way or your card isn't showing up, please reach out to us and ask for help!